



 Parenting Guide


 Child Health & Growth


 Learning & Skills Development


 Food & Nutrition


 Bournvita





Introduction
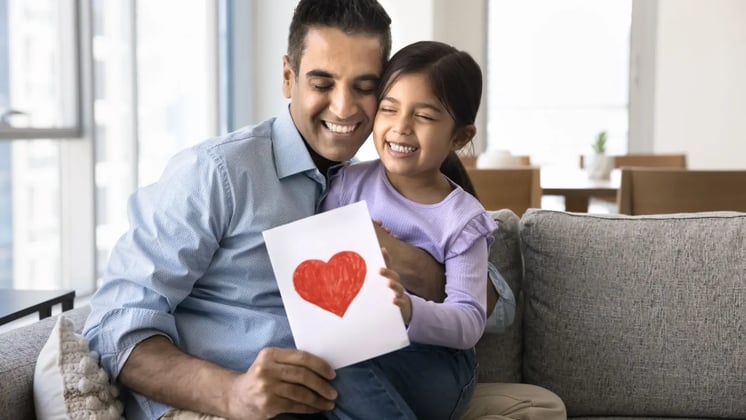
A handmade card has something that any store-bought card will never have. It stands for time, thought, and the special love of one child for another person. A 2021 study published in the Journal of Happiness Studies found that handmade gifts increased emotional closeness between giver and receiver by 41%.
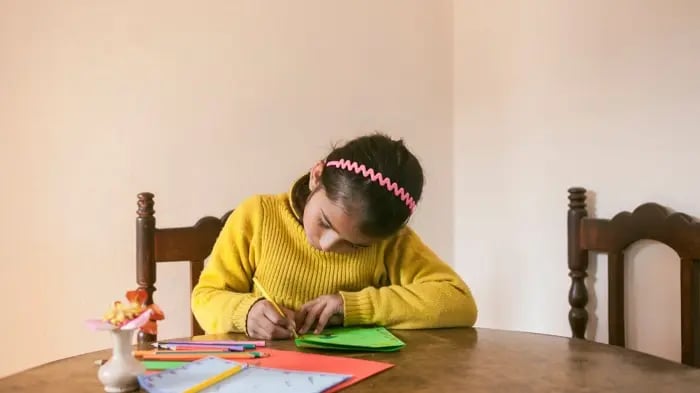
Greeting card ideas for kids teach children that effort is the best kind of love. A child practicing emotional giving is cutting, coloring, and writing a card. Greeting card ideas for kids develop fine motor skills, writing skills and empathy A card for a teacher says that teacher is really seen. A birthday card for a grandparent is a treasure to keep forever.
Greeting card ideas for kids also develop writing skills in a real-world, motivated setting. Kids are more likely to write if they know a real person will read it. Greeting card ideas for kids teach them to be thoughtful of another person’s feelings. They have to think, "What would make this person happy to receive? This perspective-taking is one of the most important social skills children learn. Every handmade card is a tiny, mighty act of human connection.
Greeting Card Ideas for Kids: 5 Projects
Project 1: Fingerprint Flower Birthday Card
Children dip their fingertips in paint and create colorful flower petals. A full bloom of flowers is made up of many fingerprints arranged in a circle. After the paint is dry, stems and leaves are added with a green marker. The end result is a truly unique card, made with the child’s own hands.
Things Needed:
Blank folded card or thick paper, washable paint in multiple colors, green marker, thin black marker for details.
- Fold a piece of thick paper in half to create a blank card base.
- Dip a finger in paint and make 5 prints in a circle shape.
- Repeat with different colours to create multiple flower blooms across card.
- Allow the paint to dry completely before applying any marker details.
- Add stems, leaves and a written message inside the card warmly.
Tip:
Use a thin black marker to add tiny detail lines on each petal.
Project 2: Woven Paper Festival Card
Children weave two different colors of paper strips to create a woven, checkered design. Then the woven panel is attached to a folded card base for the front cover. The front of the card is very eye-catching, the contrast of colors making for a festive card. The project introduces young children to the basic art of weaving.
Things Needed:
Two contrasting colors of paper, scissors, ruler, glue, blank card base, markers.
- Cut a sheet of paper into parallel horizontal slits, leaving a margin around the edges.
- Cut the second color paper into equal-width vertical strips.
- Pull vertical strips back and forth through horizontal slits – over, under, over.
- When you’ve finished weaving, glue all the strip ends down well so they don’t come undone.
- Stick the woven panel to the base of the card, and add a written sentiment.
Tip:
Metallic gold or silver paper creates a particularly festive Diwali card effect.
Project 3: Pop-Up Flower Teacher Appreciation Card
A simple tab and fold technique to create a flower that pops up when the card opens. Kids add personal details and decorate the pop-up flower for their teacher Inside the card is the pop-up element and a handwritten message. Teachers love these cards so much more than any regular gift item, all over!
Things Needed:
Thick cardstock (two pieces), scissors, craft glue, colored markers, pencil for planning.
- Fold each piece of cardstock in half, creating a card and an insert.
- Do two parallel cuts on the insert from the fold. About 2 cm long.
- Push the cut tab through to the inside – this is the pop-up platform.
- Draw and cut out a flower, glue it to the front of the pop-up tab.
- Glue in the insert inside the outer card and decorate the whole cover.
Tip:
Make the flower slightly smaller than the card so it does not snag on closing.
Project 4: Stamped Leaf Pattern Diwali Card
Children paint the bottom of a leaf and press it on cardstock. The natural print pattern on the card is due to the vein structure of the leaf. Rich, layered design of multiple leaves in different shapes and colors. The result is organic, elegant, and totally unique to each child's leaf of choice.
Things Needed:
Fresh leaves of various sizes, washable paint, blank cards, paintbrush, washi tape for borders.
- Get a few fresh leaves that have prominent, raised vein patterns on their undersides.
- Apply a thin, even coat with a brush on the underside of the leaf.
- Press the painted side down firmly onto the card, hold for five seconds.
- Lift the leaf slowly upwards to see the whole printed pattern.
- Repeat with different leaves and colors to build up a layered design.
Tip:
Add washi tape borders around the edges for a neat, framed card look.
Project 5: Watercolor Bleed Birthday Card
Children flick watercolor paint onto wet paper and see the colors bloom and spread out at will. The unpredictable mixing creates beautiful, cloud-like abstract backgrounds for birthday cards. Once dry, the kids add birthday messages and simple drawings on top of the background.
Things Needed:
Watercolor paints, watercolor paper or thick card, paintbrush, water, black pen for final details.
- Use a wide brush to wet the entire surface of the paper with clean water.
- Drop or brush chosen colors of watercolor paint on the wet surface.
- Tilt the paper slightly so the colors can flow and blend easily.
- Let the watercolor dry completely, completely before kids touch it.
- Add pen-drawn details, birthday text and personal illustrations on top.
Tip:
Yellow, orange, and pink together create the most cheerful birthday card backgrounds.
How to Make a Cute Envelope for Cards
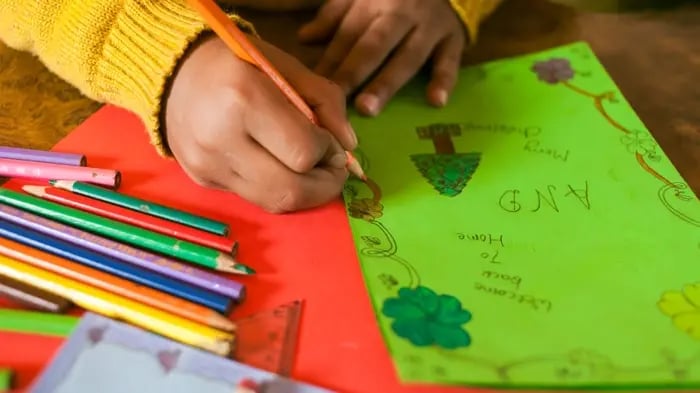
Every hand-made card needs an equally hand-made envelope to go with it:
- Select a paper a bit larger than the finished size of your card. All wrapping paper, newspaper, or decorative paper works beautifully. Place your card on the paper and leave a two-centimeter border all around. So the card can be placed and removed without any tears.
- Fold the bottom edge up to just over the midpoint of the card. Use your fingernail or the edge of a ruler to firmly crease all fold lines. The main pocket that keeps your card secure is formed by this bottom fold.
- Fold the two side edges in and glue them to the bottom fold. Glue only the bottom fold section that overlaps, not the side flaps. Press down hard and allow the glue to dry before placing the completed card inside.
- Fold the top flap down to make the envelope's closing seal. The top flap must overlap the opening of the pocket by at least two centimeters. Seal it decoratively with a small sticker, wax seal, or folded paper tab.
- Decorate the outside of the envelope to match the card inside. Match colors, stamps or stickers for the envelope and card. And write the recipient's name on the front in big, decorative letters. A beautiful envelope makes receiving a handmade card even more exciting.
Conclusion
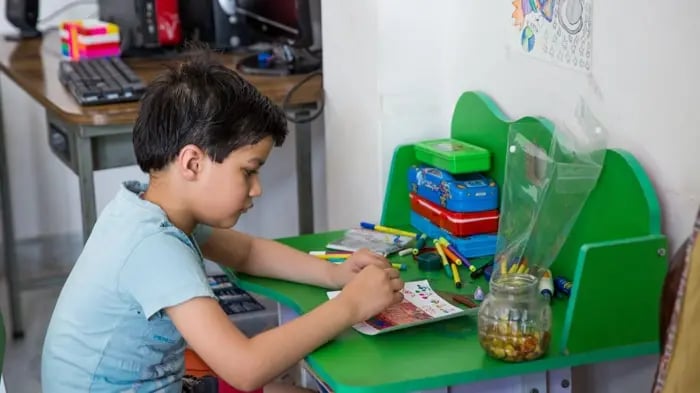
Greeting card ideas for kids are among the most meaningful and creative ways to spend time. They teach love, effort, empathy, and artistic skill all at once. Commercial cards can never compare to the keepsake greeting card the kids make. Encourage your child to make cards for every occasion this year. These greeting card ideas for kids can show them that the best gift is always handmade with lots of emotion and care.
Frequently Asked Questions
Q1. How do handmade cards help children express emotions?

Creating greeting card ideas for kids encourages them to share appreciation, gratitude, and affection through personalized messages and artwork.
Q2. What are some creative themes for handmade greeting cards?
Popular greeting card ideas for kids include birthday cards, holiday greetings, thank-you notes, friendship cards, and cards for teachers or family members.
Q3. Can making greeting cards improve fine motor skills?
Yes. Many greeting card ideas for kids involve cutting, coloring, drawing, and folding, which help strengthen fine motor coordination and creativity.
Smriti is a content writer who creates clear, practical, and informative content backed by science and relevant data. With a strong understanding of structured writing, she breaks down complex topics into simple, actionable insights. Her work is focused on helping readers prepare, learn, and grow with confidence and clarity.
The views expressed are that of the expert alone.
Popular Topics