



 Parenting Guide


 Child Health & Growth


 Learning & Skills Development


 Food & Nutrition


 Bournvita




Introduction
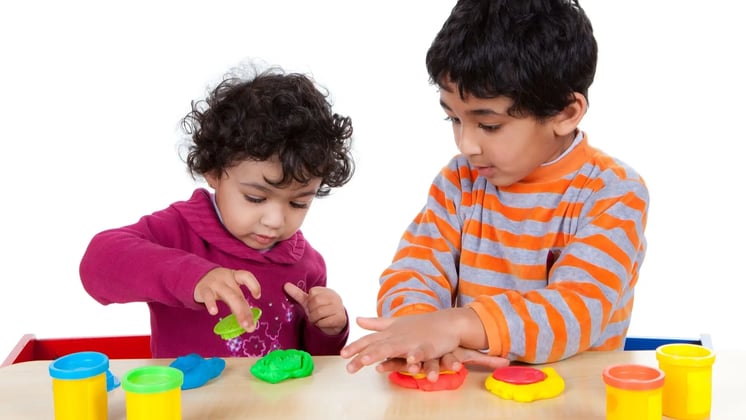
Clay is one of the oldest creative materials in human history. Children of all times and places have molded, pressed, and built with clay. The tactile experience of clay work offers developmental benefits that paper-based crafts cannot provide. Clay Activities for Kids foster fine motor strength, spatial reasoning, and creative confidence through hands-on physical interaction with materials. Mini monster sculpting is an excellent starting point, as there is no wrong direction for imagination. Children who envision a monster with seven arms and a tiny hat are engaging in the most primal form of creative decision-making. The process of collapsing and rebuilding the clay until the form feels right also develops frustration tolerance.
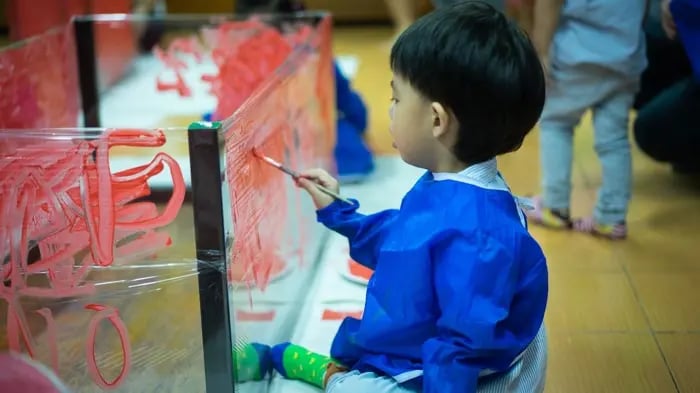
The National Institute of Mental Health and Neurosciences says that tactile creative activities in childhood directly strengthen fine-motor neural pathways and emotional self-regulation capacity across all developmental stages. Taking that shapeless clay and creating what a child has envisioned builds a level of creative confidence that kids just can’t get from adult praise alone. Clay activities for kids are affordable, accessible, and rich developmentally for all ages from 6 to 15 years old. Each of the seven mini monster projects below is designed with increasing difficulty so that both younger and older children will find a real creative challenge in each sculpting session.
7 Step-By-Step Clay Activities For Kids To Sculpt Mini Monsters
1. The One-Eyed Blob Monster
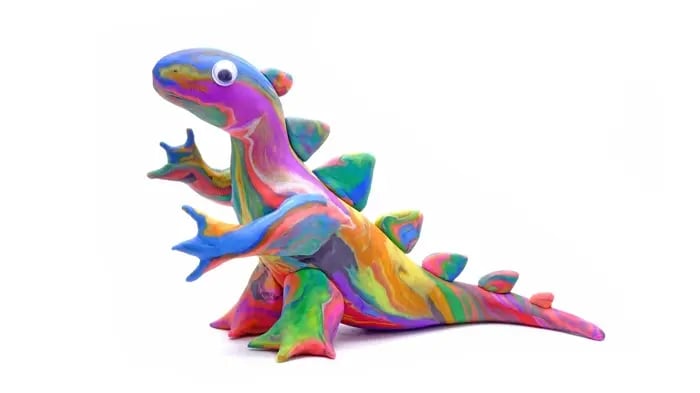
This one-eyed blob monster is the simplest clay activity to introduce to kids and just needs basic pinching and shaping skills. The kids build an uneven, round body, select as many limbs as they want, and add one giant eye as the monster's signature characteristic. This monster is intentionally imperfect and that helps to eliminate the performance pressure that precision crafts can sometimes create in younger children.
Materials
- Air-dry or polymer clay in two to three colours
- A toothpick for surface detailing
- Small googly eyes or clay rolled into eye shapes
- A flat surface protected with a plastic mat
Steps
- Roll a generous amount of the clay into an irregular oval shape.
- Pull out limbs from the body, pinch out as many as you want.
- For the single-eye feature, create one large, flat circle of contrasting clay.
- Press the eye hard into the front of the blob body, without cracking the surface.
- With a toothpick, you can create texture, scales, or a mouth expression on the finished monster.
2. The Multi-Legged Crawling Monster
This multi-legged crawling monster challenges kids to sculpt proportionally consistent limbs from clay rolls, building the repetitive precision that clay activities for kids build best through structured repetition.
Materials
- Clay in earth tones or bright colours
- A smooth rolling pin or cylindrical bottle
- Toothpicks for limb attachment support
- Acrylic paint for finishing details after drying
Steps
- First, draw a long oval for the main monster's body.
- Roll eight identical thin tubes of equal length to use as the monster's legs.
- Press each leg along the bottom of the body at equal intervals.
- Add a small toothpick at each leg joint to strengthen.
- Add facial features and let dry completely before painting with safe acrylics.
3. The Horned Mountain Monster
The horned mountain monster shows kids structural clay architecture—building up instead of out—making it a really challenging clay activity for kids that rewards patience with an impressive finished sculpture.
Materials
- Grey or dark blue clay in larger quantities
- Thin wire support for tall horn structures
- A wooden board or thick cardboard as the base
- Water in a small bowl for smoothing surface cracks
Steps
- Form the base of the monster's heavy body into a thick, conical mountain.
- Roll the clay into graduated horn shapes with pointed tips. Make 3 to 5 of them.
- Insert a thin wire into each horn before pressing the horns firmly into the body surface.
- With a damp finger tip, brush over all surface cracks to give a clean mountain texture.
- Cut small eyes low on the face to give the monster a more imposing visual presence.
4. The Friendly Furry Monster
The friendly furry monster is created using textured clay techniques to mimic fur, introducing children to surface manipulation as a separate clay skill in clay activities for kids, in addition to basic shaping.
Materials
- Bright coloured clay in one dominant colour
- A fork or bristled brush for fur texture creation
- Small clay pieces in contrasting colours for facial features
- Soft fabric scraps or real craft fur for optional decoration
Steps
- Nice big circle in the center for the friendly body of the monster.
- Using a fork, draw fine parallel lines all over the surface of the clay.
- Make another set of fork lines across the first to create a crosshatch fur texture.
- Add circular eyes, a wide, curved mouth, and small, rounded ears using contrasting clay.
- Press small pieces of soft fabric into the clay's surface before drying to create a tactile mixed-media texture.
5. The Deep Sea Glowing Monster
The deep sea monster adds a bit of color mixing to kids’ clay activities – mixing glow-in-the-dark clay or fluorescent colors to make bioluminescent creatures that kids love in low light conditions.
Materials
- Glow-in-the-dark or UV-reactive air-dry clay
- Standard blue and green clay for blending
- Small glass beads or flat gems for bioluminescent spot details
- A UV torch for revealing the glow effect after drying
Steps
- Mix standard blue clay with glow clay until you get a consistent deep-sea colour.
- Create a wide flat body with flowing fins on each side of the creature.
- Apply bioluminescent spot patterns to the exterior surface of the body using glass beads or flat gems.
- Make thin rolled clay trailing tentacle extensions and attach to the back of the body.
- Allow it to dry completely, then use the UV torch to see the glow effect you have achieved.
6. The Cloud-Riding Sky Monster
A sky monster riding a cloud is one of the most narratively creative clay activities for kids in this series for children 10 and up. It combines clay sculpture and mixed-media cloud construction.
Materials
- White and light grey clay for the monster body
- Cotton wool or stretched fiberfill for cloud construction
- A small wooden stick or lolly stick as the display mount
- Blue cardboard as the backing sky display surface
Steps
- Form a small, rounded monster body with soft arms that reach upward.
- Take some white clay and make two small clouds; these will be the floating base of the monster.
- While the clay is still soft and easy to work with, attach the monster to the base of the cloud firmly.
- Wrap the clay clouds in cotton wool to create a fluffy, atmospheric mixed-media border.
- Mount the finished scene on blue cardboard. The wooden stick can be used as a display stand.
7. The Lava Cave Monster
Older kids are asked by the lava cave monster to build an environment for their monster, rather than just a figure. This is the most architecturally complex of all the clay activities in this collection for children ages 11 and over.
Materials
- Dark red and black clay for the cave structure
- Orange clay for lava flow detail elements
- LED tea lights for safe interior illumination
- Aluminum foil as a structural armature beneath the cave arch
Steps
- Curl the aluminium foil into an arch shape to prop up the cave entrance structure.
- Cover the entire foil arch with dark clay, pressing firmly to seal all exposed surfaces.
- Add orange lava flow clay in irregular streams down both sides of the finished cave arch.
- A little scowling monster emerging from the cave's opening. Mold
- Place an LED tea light in the cave to safely light the finished monster scene.
Conclusion
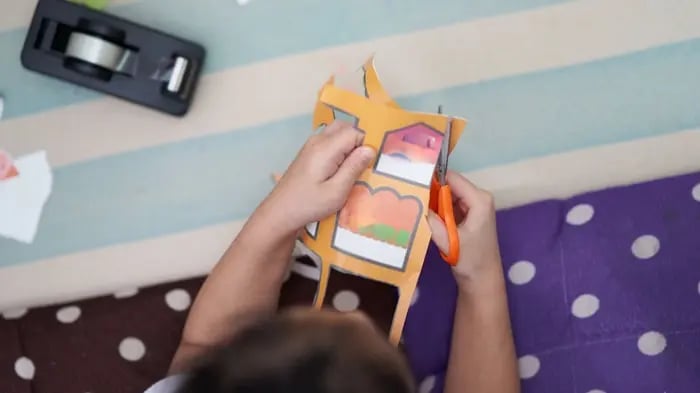
Clay activities for kids develop fine motor skills, creative confidence and spatial reasoning through one of history’s oldest craft mediums. Mini monster sculpting offers kids the freedom of imagination that technical craft projects sometimes restrict. Parents who sign up for regular clay sessions give their kids real developmental benefits and the special pleasure of having something they dreamed of and built entirely with their own hands.
Frequently Asked Questions
1. What are the benefits of clay activities for children?

Working with clay helps kids develop fine motor skills, improve hand-eye coordination, and stimulate creative thinking. Molding, rolling, and shaping clay also helps children develop patience, focus, and confidence as they bring their ideas to life.
2. Which clay is suitable for children's craft projects?
Kids love air-dry clay for clay activities as it’s easy to work with and dries on its own without baking. Younger children should use soft, non-toxic clay that is easy for little hands to mold.
3. How can parents make clay activities more fun for children?
Using fun themes like monsters, animals, space creatures, or favorite story characters can make clay activities more fun for kids. Encouraging kids to come up with their own creations instead of duplicating examples helps to spark their imagination and make each crafting session a new experience.
Smriti is a content writer who creates clear, practical, and informative content backed by science and relevant data. With a strong understanding of structured writing, she breaks down complex topics into simple, actionable insights. Her work is focused on helping readers prepare, learn, and grow with confidence and clarity.
The views expressed are that of the expert alone.
Popular Topics